Rookie Mistakes to Avoid When Laying Sod

Sod is an excellent home investment that can boost your curb appeal and overall landscape design. However, to achieve a healthy and attractive lawn, you must lay sod the right way and follow up the proper installation with maintenance.
To help lay your sod correctly, discover common mistakes you should avoid.
Using the Wrong Type of Grass
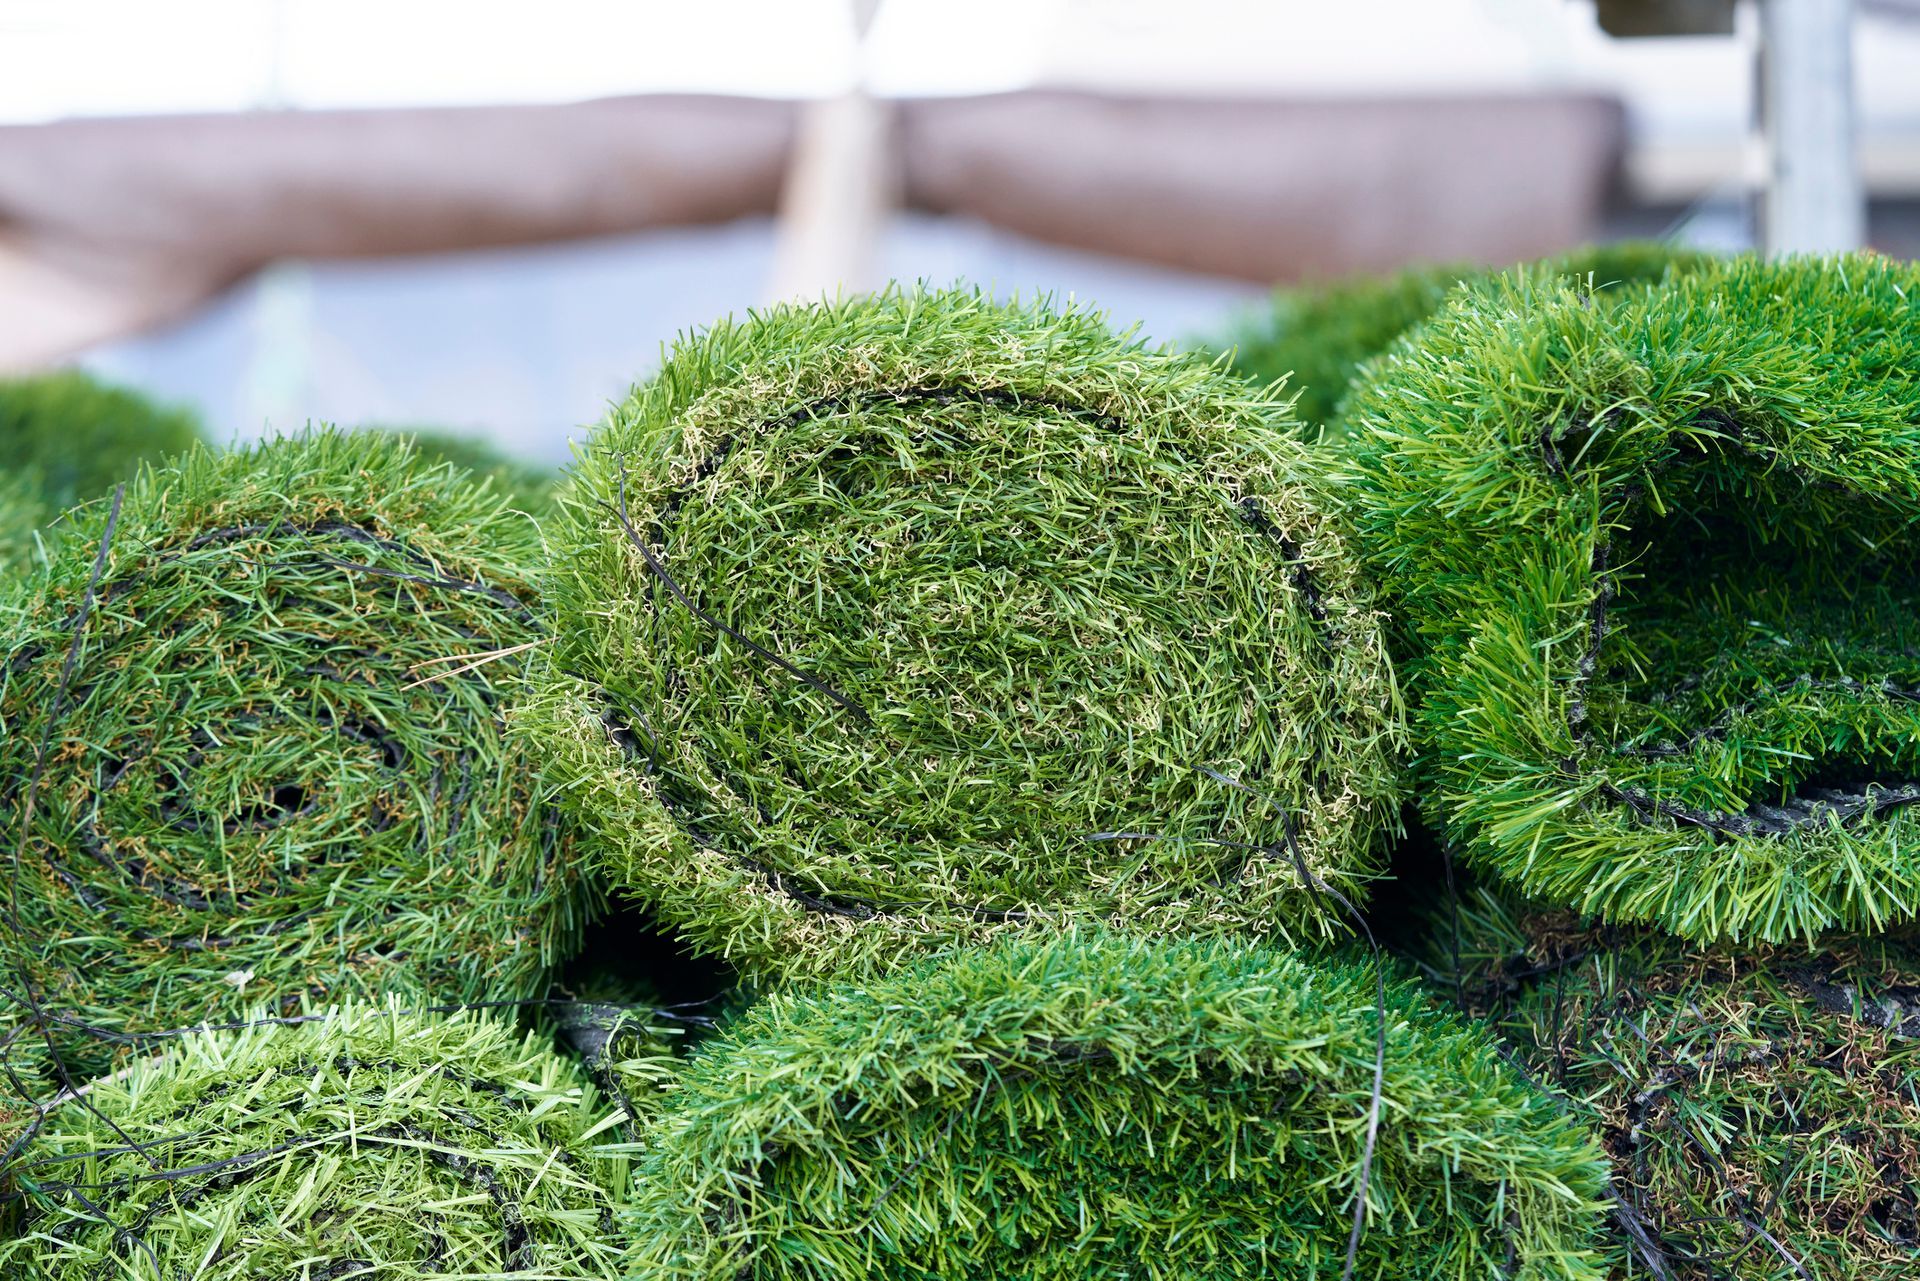
Various types of sod grass exist, including Bermuda, Kentucky Bluegrass, Bentgrass, Tall Fescue, St. Augustine, Ryegrass, and Centipede grass. Each of these sod kinds is different because they have different growing requirements and thrive under distinct conditions.
For example, Bermuda grass is best in locations with warm weather year-round and best to go in places where the soil would be well-drained. Centipede grass is more enduring, hence it's great for colder climates, although you need to
water the sod regularly. If you want to install fine fescue or tall fescue grass, let it be in the spring or early fall seasons; this is their ideal weather condition to thrive.
That said, choosing the right type of sod is essential to the health of the grass. Additionally, the wrong grass may be unable to root itself well into the ground, so the lawn can as well look ruined even before you finish laying it across your
landscape.
Overlapping Rolls
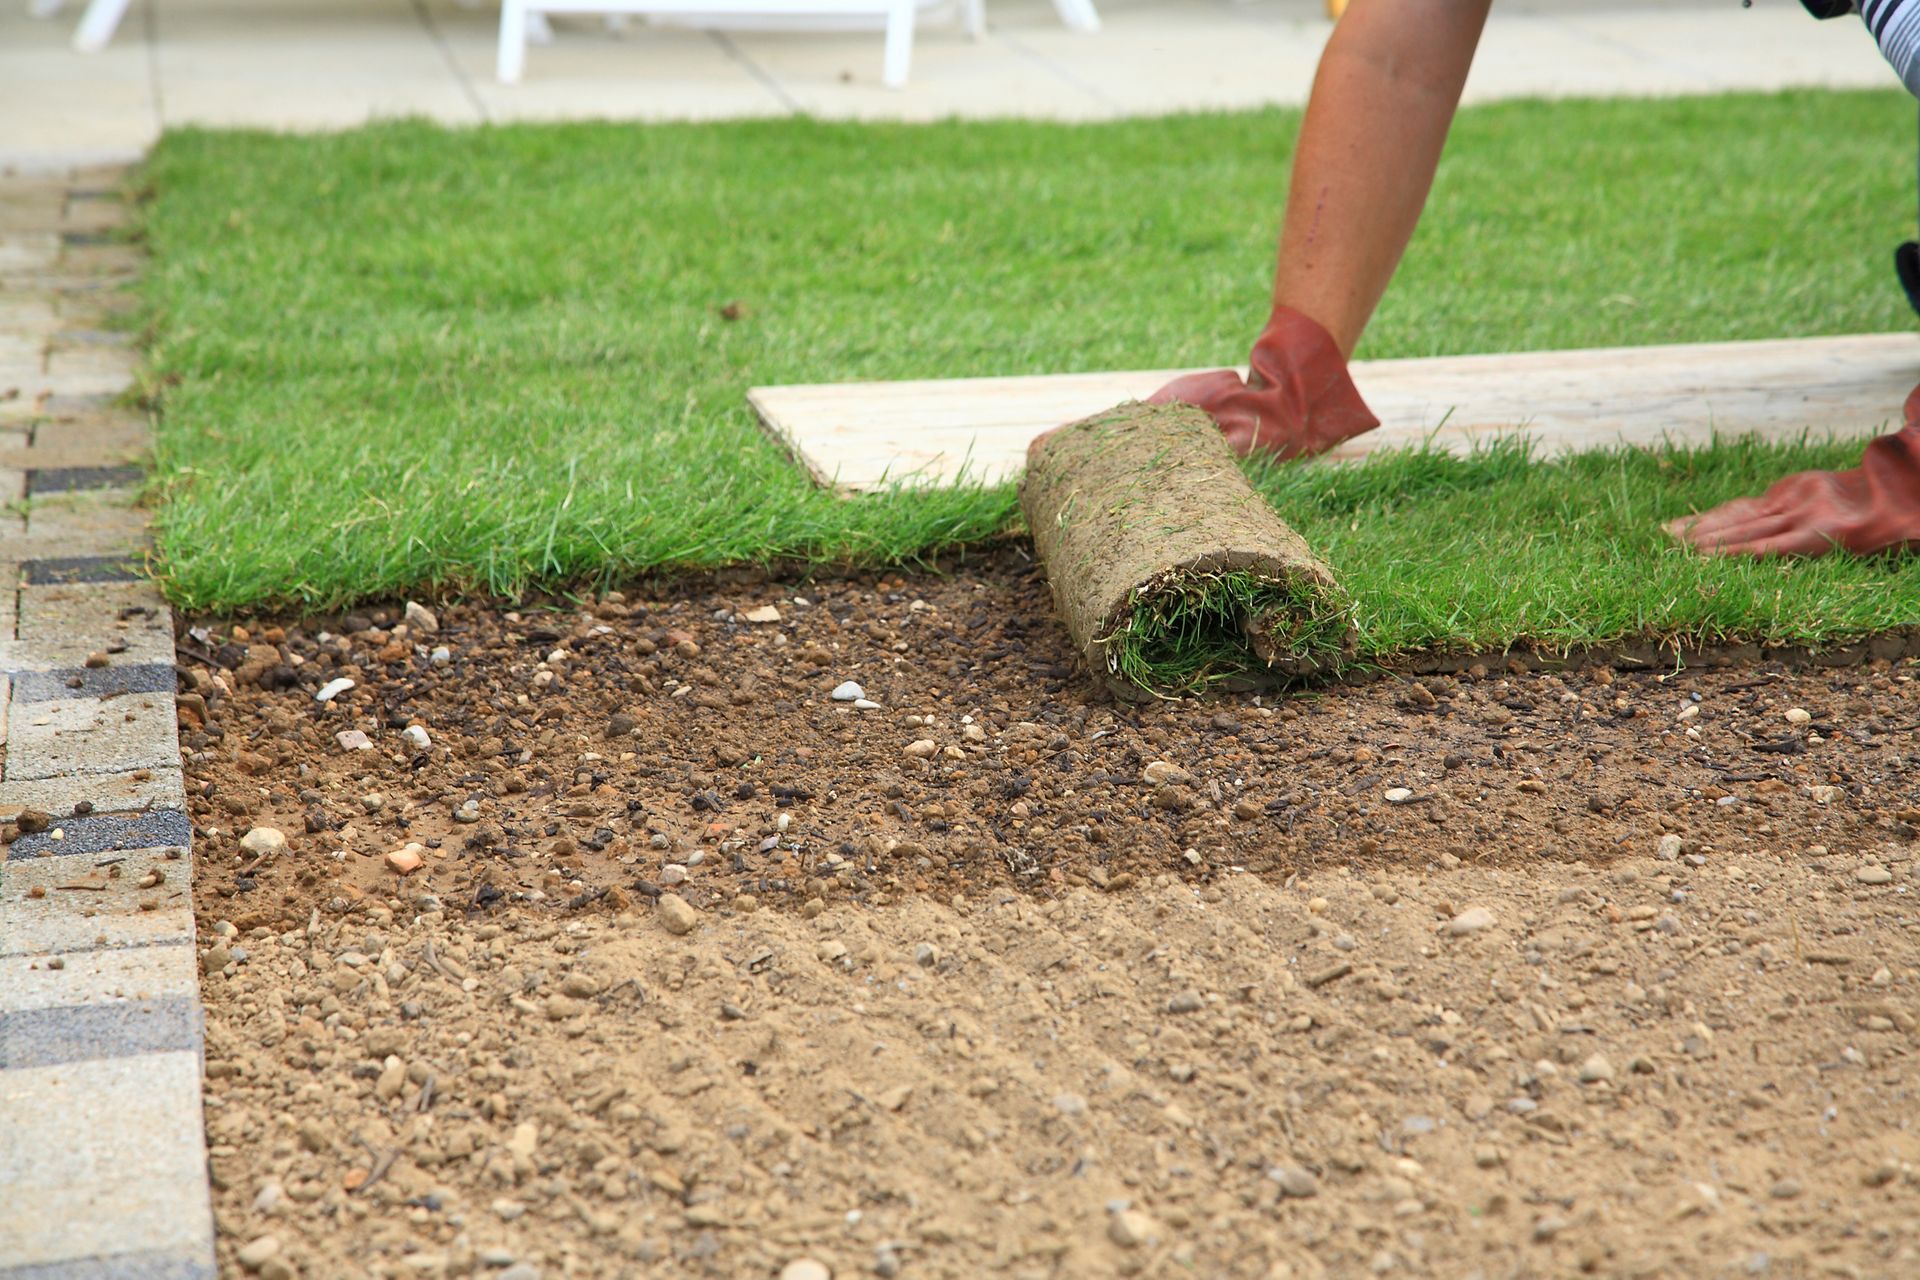
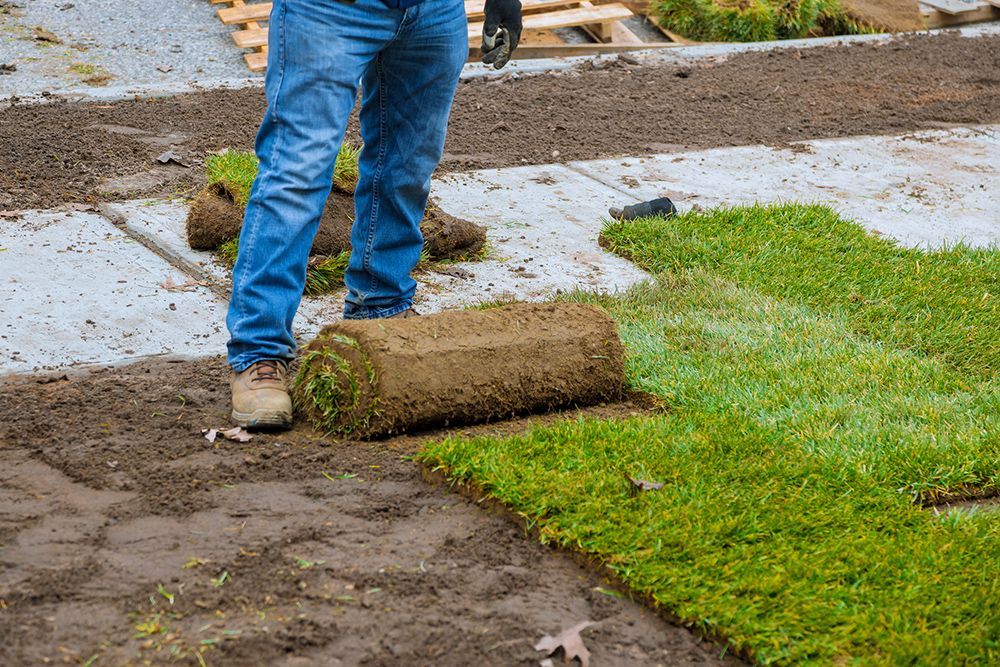
As you lay the sod, you should roll it out like you would when laying a carpet. Ensure that each strip spreads over the lawn area evenly to avoid a lumpy appearance. Now, you may be tempted to overlap the rolls of sod to offer broader coverage, but this means some places won't get enough elements for healthy growth.
Also, ensure you follow some pattern so you don't end up with a patchy backyard. If you choose to lay horizontally, let the strips lay horizontal just as you would align tiles or wooden panels on the floor. Doing a pattern should ensure
an attractive finish to your lawn.
The last thing you can do to ensure an evened-out lawn is to roll over the sod using a lawn roller. The roller is a way to flatten or evenly lay the strips of sod to ensure they root evenly in the ground, which leads to even growth.
Failing to Prepare Your Soil
Another essential yet easily forgotten thing to do is to prep the soil. Prepping the soil means cultivating and fertilizing the soil to ensure the pH is just suitable for the growth of the turf.
The first step to proper soil preparation is weeding and cultivating the soil. This means that you get rid of debris, any weeds, crushed shells, clumps of clay, roots, rocks, and other organic material that could interrupt the rooting and
growth of the turf. Next, add topsoil, which will even out the upper surface of the landscape for a better and level sod foundation.
The last thing you can do to prep the soil is to fertilize it. But before that, you must test your soil's pH to ensure it is optimal for the type of sod you plan to lay. After testing, treat the soil with fertilizer to get it to the proper pH balance.
Not Watering Your Sod
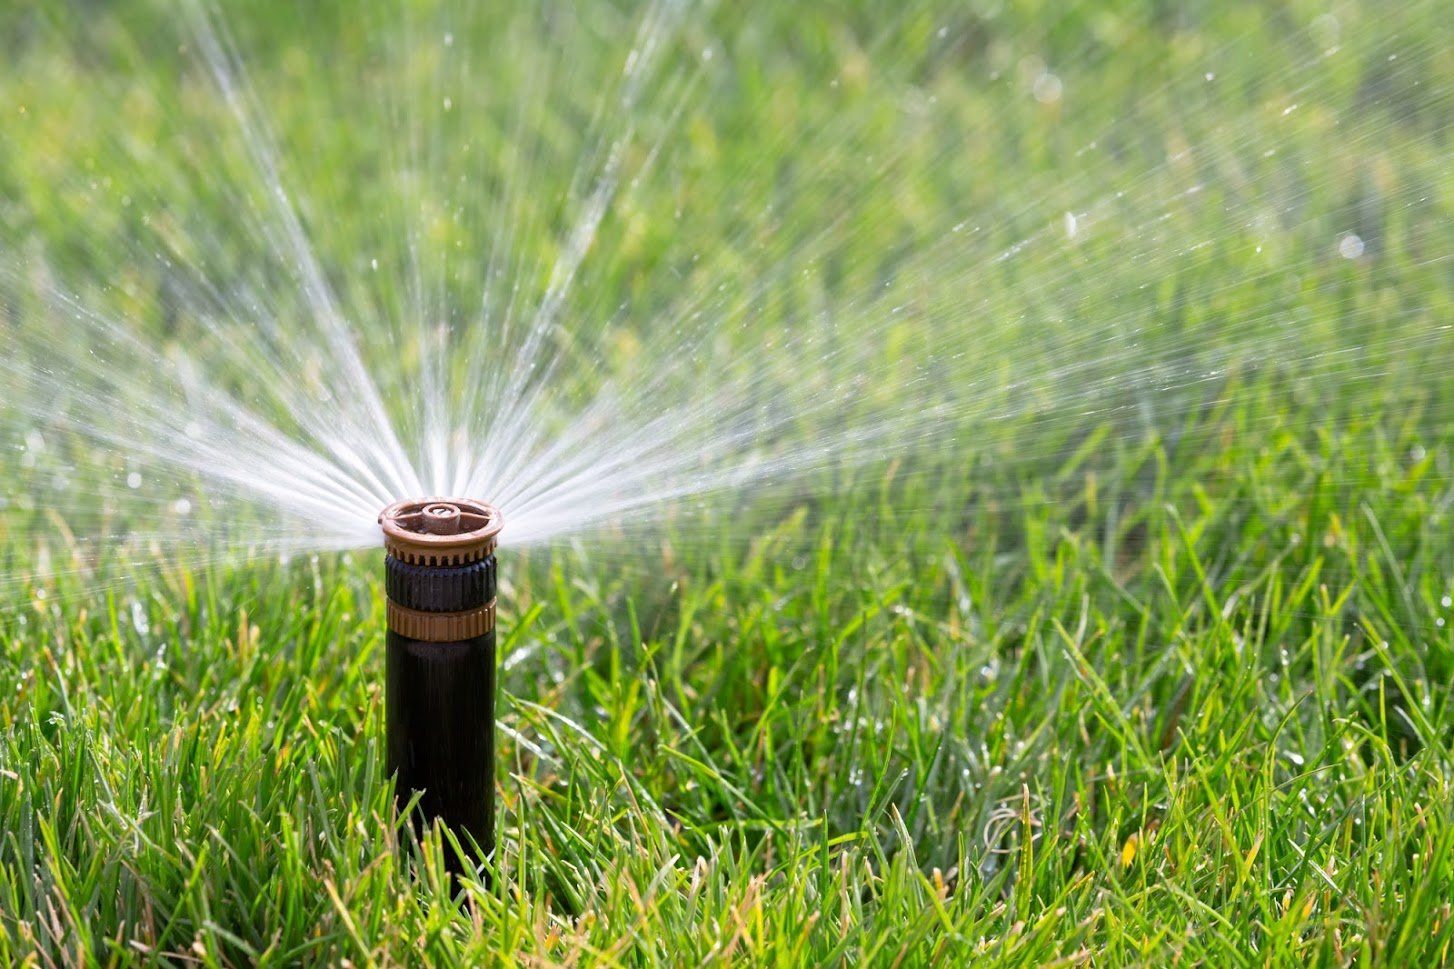
The last mistake many people make is failing to irrigate the sod before laying it. Sod is a living, breathing grass that's pre-grown, so you have to keep it alive by watering it. Irrigate the soil as well at a reasonable depth before laying the
sod.
After you lay the sod, keep irrigating it two to three times a day for the first week after installation. This should allow the new lawn to develop roots and grow well. Make sure you inspect the sod and the underlying soil for dryness so
you can adjust the amount of water you use for irrigation.
For more information on sod, turf care, installation, or maintenance, contact Novasack Turf Farm today.

